
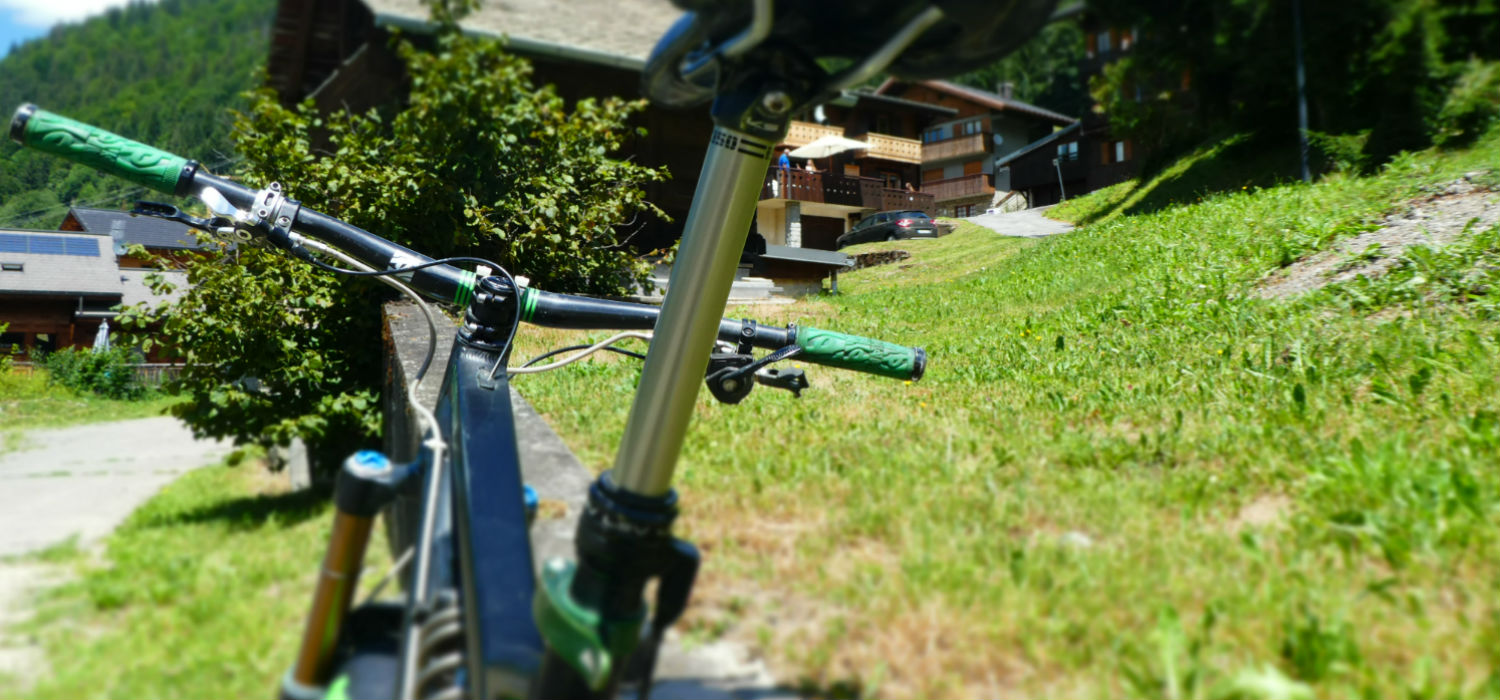
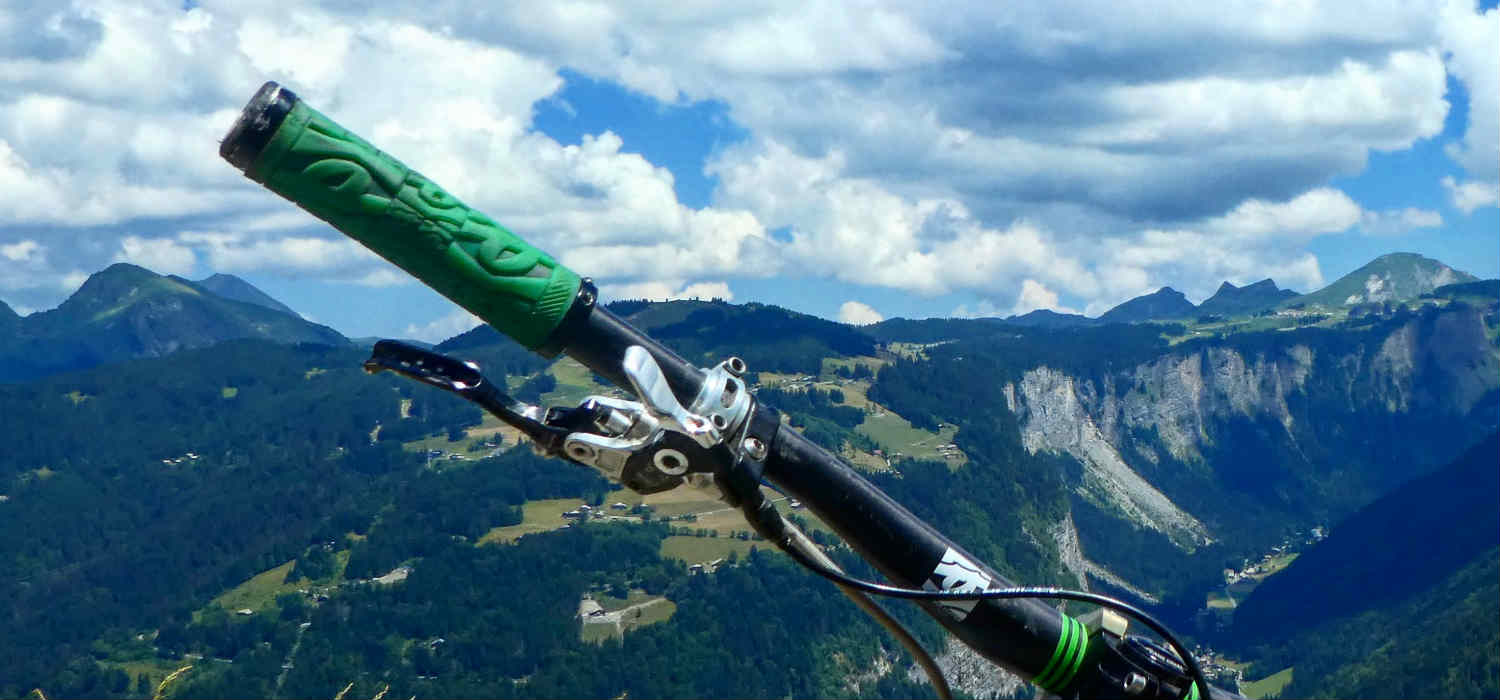
Mountain Bike Dropper Seatpost: You will never go back
Fitting your bike with a mountain bike dropper seatpost, will improve your riding experience more than you could expect. After using one for a while, you will really struggle to go back to a traditional fixed one.
Why buy a Mountain Bike Dropper Seatpost
A mountain bike dropper seatpost raises with the push of a button on your handlebars. Press the button again with your weight on it, and it goes back down to your desired height. Trying to explain this to a new rider or a non-mountain biker, makes you seem lazy. But, the advantages this simple action gives you, enhances your riding massively.
Descending
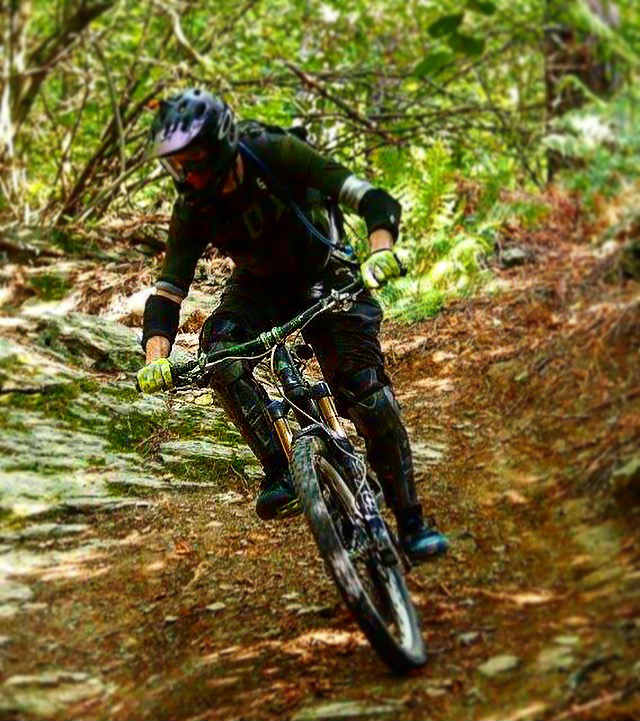
The main reason for a mountain bike dropper seatpost is to get it out of the way for descents.
Taking on a steep or technical descent with your seatpost up restricts your movement. When it is up, it is difficult and uncomfortable to get your weight back. This will cause your weight will tip forward, meaning you could potentially go OTB (Over The Bars).
Cornering
Having your seat dropped is a big advantage when pushing your bike to the limit while cornering . It means you can get your hips lower, which lowers your centre of gravity, helping you corner.
Technical Terrain
When you need to manual, jump or just take on a rocky or rooty section, it is best to have your saddle out of the way. Doing this makes it a lot easier to move around. Therefore, it is easier to take whatever action is needed to tackle the section in question.
Maintain Your Flow
When you can easily adjust your saddle height, you can ride a lot smoother and you can flow seamlessly in to each section of the trail.
Save Energy
When you are riding up a hill and you have your conventional seat at slightly the wrong height, you are not pedaling as efficiently as you could be. By being able to adjust your seat height on the fly will save your energy and keep you riding for longer.
[table id=79 /]
How to Choose a Mountain Bike Dropper Seatpost
Before you buy a mountain bike dropper seatpost, you need to check a few things to make sure you a buying the correct on for your bike:
Diameter
Your new mountain bike dropper seatpost obviously needs to fit your bike. So the first thing to do is make sure you get the right diameter for your bike. Most manufacturers have all their bike specifications and measurements on the internet. So, do a quick search to get the correct information. Sometimes, your existing seatpost will have its size marked on it. Most bikes are 30.9mm or 31.6mm.
Cable Routing
Whether your new seatpost is cable or hydraulically activated, the pipe or cable will need to be routed from your handlebars to the seatpost itself. This can be done either internally through the frame or attached externally, also known as stealth or non-stealth. Internal routing is the best as it keeps your bike looking tidy and protects the cable from damage.
Dropper Travel
The dropper travel is how much the seatpost moves up and down, and is very important before buying. Try to get the biggest amount of travel that your bike will allow. This means your seat can be lowered all the way down, ensuring it is completely out of the way when you are riding steep downhill technical terrain.
Stack Height
You need to be aware that the bigger mountain bike dropper seatposts will not fit all bikes and riders. This is where you need your tape measure. You need to know the length of the seatpost and the stack height. Set your current seatpost to its highest point you use for pedaling, and measure from your seatpost collar to your saddle rails, this is your stack height.
Then subtract about 50mm for the dropper seatpost junction and the seatpost collar. The figure you get is the maximum size seatpost your bike can fit.
Insertion Length
This is how far the seatpost will slide in to the frame. Some bikes have a kink in the frame, so you need to know how much seatpost will fit in the bike.
When it comes to shorter travel posts, make sure that your seatpost does not come out of the frame past the minimum insertion length. This is marked on the seatpost, and if you ignore it you can damage your seatpost, or worse, your frame.
To do this, you need to measure your saddle height from the middle of your bottom bracket to the top of your saddle.
If your seatpost is too high, your legs will be locking on the down stroke of your pedal, and your hips will be rocking from side to side.
Remote Lever
Fitting the remote lever for your new mountain bike dropper seatpost is a bit easier if you don’t have a front derailleur. This is because you have room to fit it and position it well. Ideally, you will position it so you don’t have to reach for it with your thumb or loosen your grip to use it. However, your brake lever set up is a priority over your seatpost lever.
Will you fit a Mountain Bike Dropper Seatpost?
A mountain bike dropper seatpost is an expensive upgrade, however, it is a very worthwhile upgrade. Even if you don’t ride particularly technical terrain, but ride terrain that has good mixture of climbing and descending, a dropper post will make your riding so much more fun. Being able to keep a flow on a trail will enhance your riding experience.
[table id=79 /]

Pingback: 2020 Trek Marlin: What you need to know -
Pingback: What is the best Mountain Bike to buy? 6 of the best -
Pingback: 2021 Trek Marlin - Everything you need to know -
Pingback: 2020 Nukeproof Scout - Everything you need to know
Pingback: Bike Fitting Guide: Get right size bike -
Pingback: The Best Most Affordable Mountain Bikes: Ride for less -