

Washing a Mountain Bike – 6 Steps for keeping your bike clean
Sometimes riding when it is wet and muddy is great fun. In some countries, you would never go out on your bike if you waited for good weather. However, putting your bike away dirty isn’t a great idea. Here are my tips for washing a mountain bike.
Why you need to clean your bike
Mud, grit and anything else that your bike picks up during a ride can limit the lifespan of its components. When dirt gets in to moving parts, it acts as a grinding paste, gradually wearing them out. Also, dried mud and water can actually corrode your frame, chain and gears.
Cleaning your bike straight after a ride will help it and its components last longer. Mountain biking is expensive, and if you can prevent parts failing by giving them a quick wash, surely that is a good thing?
The time when you clean your bike, it is good to check it over for any damage. Spotting something wrong may mean you won’t have any nasty surprises next time you go out for a ride.
Washing a Mountain Bike
After a ride and a beer, the last thing you might want to do is clean your bike. But, it doesn’t really take that long to do. However, you don’t really need to do it after every ride. Squirting water on it can wash away the grease for bearings, while scrubbing it with a brush too much, won’t do it much good either. Therefore, only clean your bike when it is dirty.
If you follow this step by step guide, your bike will be clean in no time.
Step 1 - Hose it down
Sometimes trail centres will have a bike wash station. These are very useful for when you a putting your bike in the car, but you will still want to get it wet to clean it properly when you get home.
When hosing it down, make sure your bike isn’t going to fall over and get damaged. Also, avoid using high pressure water on parts of your bike that have bearings. The water can force the grease out of them and wash it away. If you have a pressure washer, stand further back to avoid too much water pressure on your bike.
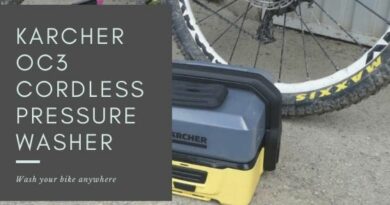
A great tool for this is the Kärcher OC 3, cordless washer. This, does a great job of cleaning your bike without too much pressure. Note: I actually just washed a small dog with mine.

Step 2 -Scrub it
Using a brush, that isn’t too stiff you can start to scrub your bike. Ideally, use a large brush for the frame, a medium brush for hard to reach places and a small one for the components, such as the cassette.
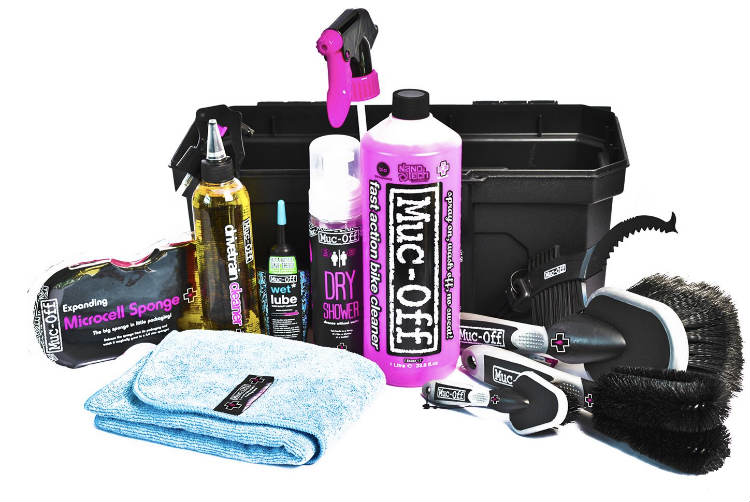
There are a lot of bike cleaning products out there. For example, you may want to buy a bike cleaning kit. A great one on the market, is the Muc-Off Bicycle Pro cleaning kit II. It comes with everything you need to clean your bike and will last a long time.
Lorem ipsum dolor sit amet, consectetur adipiscing elit. Ut elit tellus, luctus nec ullamcorper mattis, pulvinar dapibus leo.
- Muc-Off Nano Tech Bike Cleaner – 1 Litre
- Muc-Off Drive Chain Cleaner – 250ml
- Muc-Off Wet Lube – 50ml
- Muc-Off Claw Brush
- Muc-Off Detailing Brush
- Muc-Off Soft Washing Brush
- Muc-Off Wheel & Component Brush
- Muc-Off Premium Microfibre Polishing Cloth
- Muc-Off Expanding Sponge
- Muc-Off Dry Shower – 200ml
- Parts Washer/Storage Tool Box
- All over Bike Cleaner, which cuts through grime while protecting your bike’s finish
- Will not harm seals or disc brake pads. Spray on, wash off, no sweat
- Fully biodegradable, alkaline based
- Safe on carbon fibre, paintwork, anodising, aluminium, titanium, rubber, plastic, seals and disc brake pads
- California Air Regulatory Board Compliant
You may not use everything in this kit every time, but when you have a bit more time, you can really give your bike a treat.
Step 3 - Clean your Chain
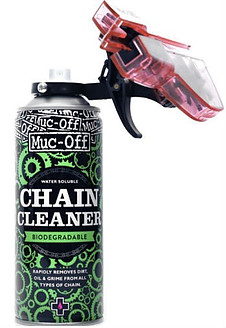
Cleaning your chain is essential to keep your drive train running smoothly and for longer. I like to use a proper chain cleaner, to make sure all the dirt is gone.
It clamps around your chain, and you give it a little squirt from the aerosol can and pedal the chain (forwards or backwards). Once your chain has passed through it a few times, it will be nice and clean. Then you just need to get rid of the dirty liquid responsibly.
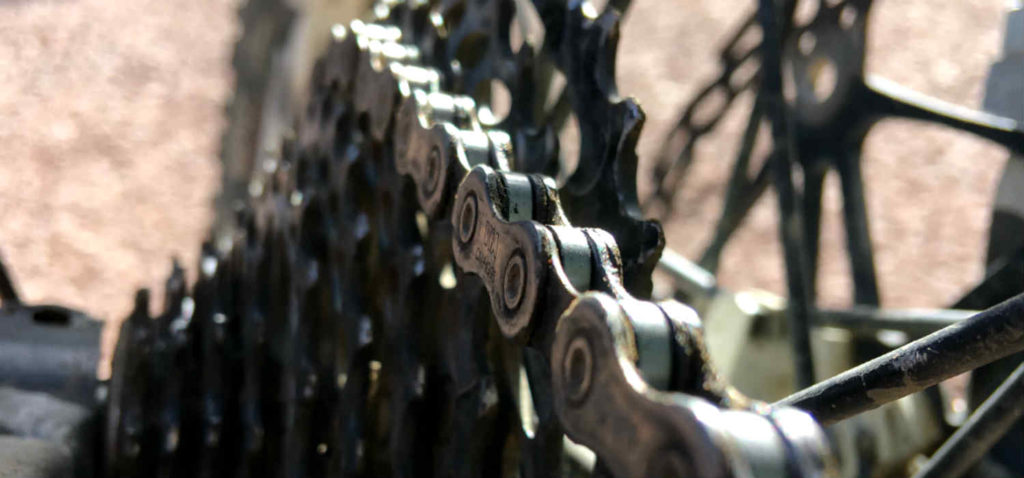
Step 4 -Clean the cassette
Cleaning your cassette is just as important as cleaning your chain. Use a smaller brush to get all the dirt and grime out of the cassette and derailleurs.
Step 5 - Dry your bike
If you are in a rush, concentrate on drying your drive train. Bounce it up and down to get the excess water off, then wipe it down with a cloth. This step is essential, because if I don’t, it can look like you haven’t washed it when the water dries oil the frame.
Step 6 - Lube
This is very important too, as you will likely to have washed off most of the lube. Make sure your chain is lubed well and all the other moving parts of your bike. Be careful to not get any on your brakes.
Now go and get it dirty again!
This is the quick way of washing a mountain bike. You can spend a lot of time cleaning your bike, especially when you start to take it apart to do a really good job of it. I recommend that whenever you do some maintenance and you take components off your bike, try to clean the hard to reach place that you can’t normally get to.
Also, don’t forget to sign up for the MTB-Threads newsletter!
Pingback: Where Are All The Bikes? - Why is there a bike shortage?
Pingback: Winter Mountain Bike Hacks: Ride comfortably this winter -