Mountain Bike Brake Pads: Don’t make these mistakes
There is the cliché saying “Speed is your friend”, in many cases this is true, but stopping your bike is pretty important too. So if your bike has disc brakes and they are due to be changed, here is my guide to choosing the right mountain bike brake pads.
Which ones fit my bike?
The best way to check which mountain bike brake pads to use, is to simply look at the ones you already have. This is because there are so many types, including different types for the same brand. For example, you may have Shimano XT brakes, but their design has varied from year to year. You are going to need to take your pads out anyway, so this won’t be a problem.
Which type?
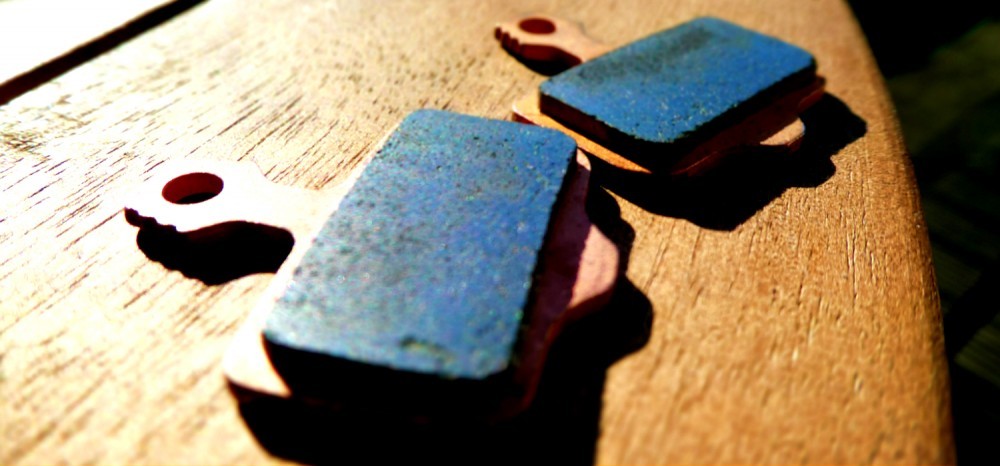
When you choose your mountain bike brake pads, you need to make sure you get the right ones for you. Different mountain bike brake pads are made from various materials, with different properties.
Organic
Sometimes organic mountain bike brake pads are referred to as, semi metallic or resin pads. They are usually made from, Kevlar, carbon and rubber.
Pros
- They work from the first time you pull the brake lever. Meaning that you don’t have to get them hot to be effective.
- Organic mountain bike brake pads are quieter than their sintered counterparts.
- It takes a long time for your disc to wear
Cons
- You can get significant brake fade (braking power is lost) when they get hot
- Pads wear quickly
- Don’t perform too well in wet and muddy conditions.
Sintered
Sometimes sintered mountain bike brake pads are referred to as metallic pads. They are made from lots of metallic particles fused together. This type of brake pad is probably the most common, as they are effective in different situations. For example, they will work in dry or wet conditions.
Pros
- Strong braking power
- Will work at high temperatures
Cons
- Can be noisy when hot or wet
- Need to be warmed up to work properly
- The heat from the metal particles can transfer in to you caliper. This means your brake fluid could overheat
- Your disc will wear quicker than with organic mountain bike brake pads, however this won’t be a problem for most riders
Semi-metallic
These mountain bike brake pads are a mix of organic and metallic particles. The idea is to have a brake pad with the qualities of each type. It doesn’t take a genius to work out what is good and bad about them.
Pros
- These pads work better at high temperature than organic mountain bike brake pads
- Work reasonably well from cold
- Much quieter than sintered pads
Cons
- Not as good at high temperatures as sintered pads
- Make more noise than organic pads
So which ones do you choose? Well, it depends on what type of riding you do. For most riders, organic pads are good enough. They work fine (unless you are hurling yourself down an alp), cheap and don’t make too much noise.
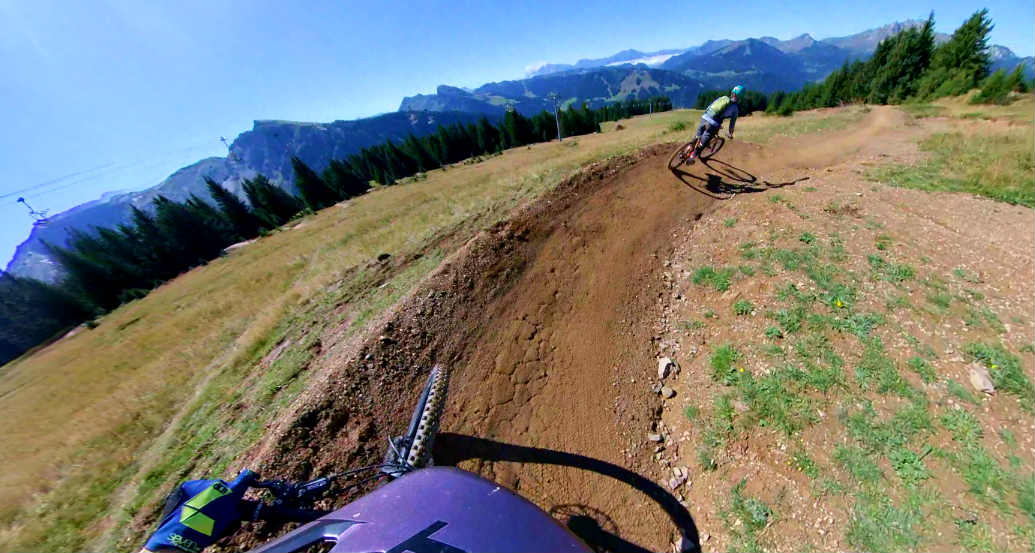
If you ride anywhere where you will be taking on long and steep downhill sections, you will probably want to use sintered pads. These are what I use, because of the terrain I ride on in the French alps.
You can even mix and match the different types, front to back. For example, putting sintered pads on the back wheel and organic ones on the front, is a great idea. Doing this will give you confidence in your braking.
NOTE: Some disc brakes can only use certain types of mountain bike brake pads. They will have this written on them, so please check before buying the wrong ones. If there is nothing written on them, you should be fine with whatever you want.

How to replace them
Sometimes it can be a bit fiddly, but changing mountain bike brake pads is pretty easy.
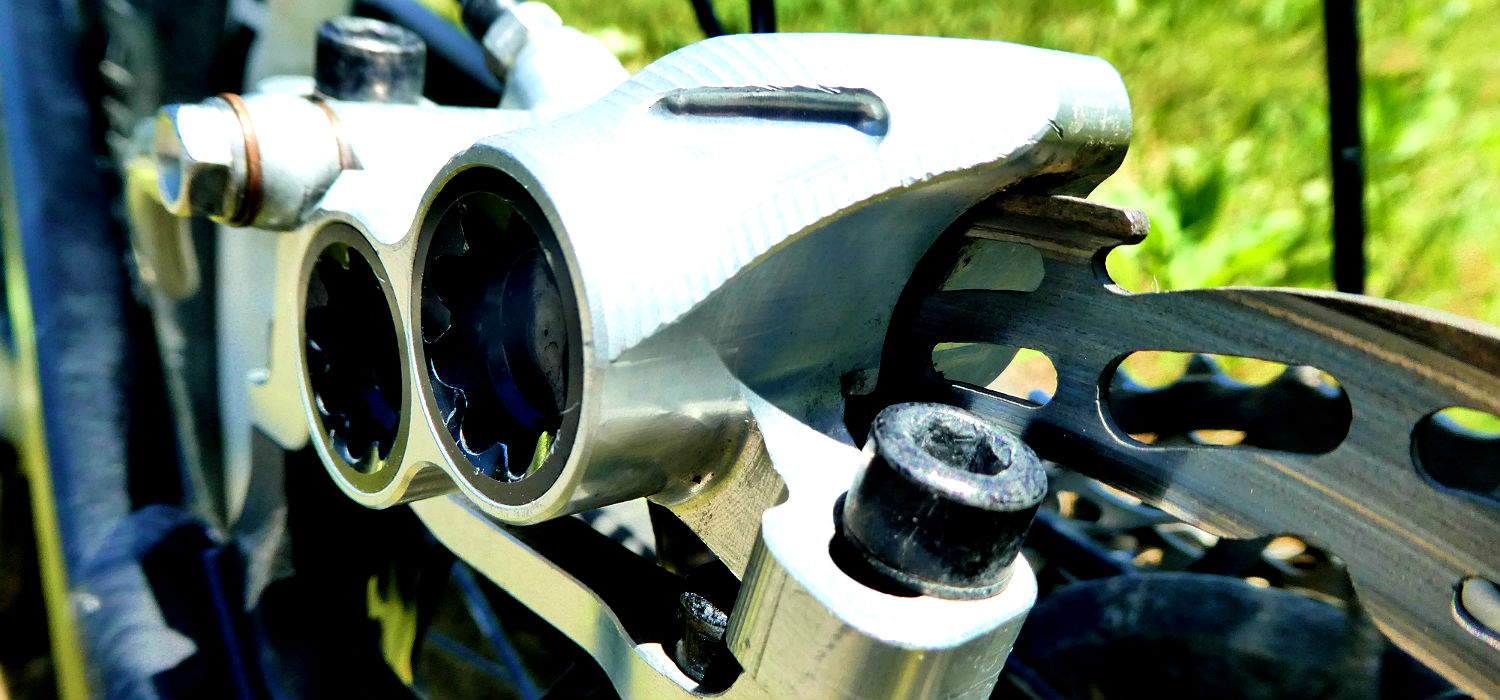
- Remove the pin that holds the pad in (usually this is a 2.5mm allen key or a split pin). There is a tiny circlip on the back of the pin, so take that off first and don’t lose it.
- Squeeze the pads together and pull them out from the top of the caliper. Keep a hold of the spring to keep them together.
- Your old pads have worn away, and the pistons have been compensating for the lack of material left on them. So, to fit the new ones in, you will need to push the pistons back. If you are out on the trail, you can do this with a plastic tyre lever, or even better, use a multi tool with a brake pad tool attachment
- If you can’t push the pistons back, you may need to unscrew the bleed screw on your brake lever (common with Avid brakes). This will let a bit of fluid out, but be careful not to lose too much.
- Put the new pads in to the new spring, and slot them in to the caliper
- Put the pin back in and put the circlip back on
- Check that your brakes work
- Spin the wheel to make sure it is not binding on the new pads. If they are binding, this means you need to push the pistons back further.
Don't make these mistakes when replacing mountain bike brake pads
- When pushing the pistons back, don’t use anything metallic on your new pads. You may want to push them back before you take the old ones out.
- If you are struggling to push the pistons back, don’t force them. This is where you need to open the bleed screw, because you can damage the seals within the braking system if you don’t
- Don’t pull your brake lever when you don’t have any pads in the caliper. This makes your task of changing your mountain bike brake pads a lot more of a faff.
- The same goes if you have take your wheel off. Don’t pull that lever!
- Although you probably will have a good idea when you need to change your pads, make your you take a spare set on your ride. You don’t want to be in the middle of nowhere, at the top of a hill/mountain without any brakes.
- Your brake disc may be really hot from your last descent. So, don’t touch it! It really hurts and you really don’t want to have to brake with burned fingers.
What to do once you have replaced your mountain bike brake pads
Once you have changed your mountain bike brake pads, it isn’t a great idea to just jump on your bike and head downhill. This is because, they don’t work particularly well when brand new. This is because the top surface is pretty smooth and not effective when trying to stop your bike. Also, if you make brand new pads work hard straight away, the high temperature can glaze over the pad, meaning that they will never give you enough friction.
Therefore you need to ‘bed in’ your new pads:
On a reasonably flat road or track, pedal and build up a bit of speed. Then Grab your brakes as hard as you can. Do this a two or three times, to scrub off that top later of brake pad material. You can even douse the caliper in water to keep it cool.
If you manage to glaze your pads, you will need to take them out and file them down.

Now you know
It is pretty simple, but it is something every mountain biker should know. So remember, choose brake pads that fiat and with the correct material. Try not to make the mistakes, as it makes a simple task more difficult and don’t forget to bed in your new mountain bike brake pads.
Do you have any other tips worth sharing? Please let us know in the comments below.
SaveSave
SaveSave
SaveSave
SaveSave
SaveSave